Home improvement projects can be incredibly satisfying, and handling your own plumbing repairs is no exception. Tackling common issues yourself can save you time and money while giving you a sense of accomplishment. However, it’s crucial to know your limits. With the right tools and a little guidance, you can confidently address many simple plumbing problems. This guide will walk you through five DIY plumbing fixes that are well within the reach of most homeowners, helping you keep your home running smoothly.
5 DIY Plumbing Fixes You Can Actually Do Without Breaking Anything
Empowering yourself with the knowledge to handle these small plumbing repairs can prevent them from escalating into bigger, more expensive problems. The following fixes are excellent starting points for any aspiring DIY plumber, allowing you to build confidence while maintaining your home’s plumbing.
1. Fixing a Leaky Faucet: Simple Steps for Success
A dripping faucet is not just annoying; it wastes a surprising amount of water. This is one of the most common plumbing problems, and it’s usually caused by a worn-out washer or seal. Thankfully, this is a repair you can typically handle in under an hour. What tools do I need for simple DIY plumbing repairs at home? To get started, you will need a few basic items.
Gather an adjustable wrench, a screwdriver, and the correct replacement washers or O-rings for your faucet model. It is also wise to have a rag to plug the sink drain so you don’t lose any small screws.
Before you begin any work, remember to turn off the water supply using the shut-off valves under the sink. Then, follow these simple steps for your plumbing repairs:
- Remove the faucet handle, which may require prying off a decorative cap first.
- Disassemble the faucet body to access and replace the worn-out washer or seal.
- Reassemble the faucet, turn the water back on slowly, and check for leaks.
2. Unclogging Drains With Household Tools
Clogged drains are another frequent household headache. Before you reach for harsh chemical cleaners that can damage your pipes over time, try a few simple, mechanical methods. How difficult is it for beginners to tackle DIY plumbing fixes? Unclogging a drain is often one of the easiest first projects, as it requires minimal tools and experience.
You can often resolve these plumbing issues with items you already have. A plunger is a powerful first line of defense. For tougher clogs, a plumbing snake can physically break up or pull out the blockage.
A popular and effective household remedy involves baking soda and vinegar. This method is gentle on your pipes and surprisingly effective.
- Pour about half a cup of baking soda down the drain.
- Follow it with one cup of vinegar and let the mixture fizz for about 15 minutes.
- Flush the drain thoroughly with hot water.
3. Replacing a Showerhead Without Hassle
Are you looking for a quick and easy way to upgrade your bathroom? Replacing an old showerhead is a simple DIY task that can significantly improve your shower experience. This project requires very few tools and is a great way to build confidence in your plumbing skills. You will only need an adjustable wrench, some plumber’s tape, and a cloth to protect the finish of the fixture.
This is a fantastic plumbing project for beginners because it’s fast and has an immediate payoff. The entire process, from removing the old fixture to testing the new one, can usually be completed in less than 30 minutes. Having the right tools makes all the difference.
Follow these straightforward steps to get the job done right without any leaks.
| Step | Action |
|---|---|
| 1. Remove Old Showerhead | Wrap a cloth around the base of the old showerhead and use an adjustable wrench to loosen and unscrew it from the shower arm. |
| 2. Clean the Threads | Remove any old plumber’s tape and residue from the threads of the shower arm to ensure a clean surface. |
| 3. Apply New Tape | Wrap new plumber’s tape clockwise around the threads of the shower arm. This helps create a watertight seal. |
| 4. Install New Showerhead | Screw the new showerhead on by hand until it is snug. Use the wrench for a final quarter-turn, but be careful not to overtighten. |
| 5. Test for Leaks | Turn the water on and check for any drips around the connection. Tighten slightly if needed. |
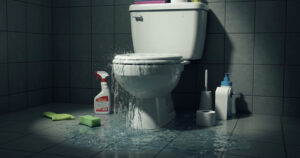
4. Stopping a Running Toilet
A constantly running toilet can waste hundreds of gallons of water each day, driving up your utility bill. This is one of those plumbing problems that seems complex but is often caused by a simple, easy-to-fix internal part. Before you panic, lift the tank lid and take a look inside. The solution is usually straightforward.
Most often, the culprit is a faulty flapper that isn’t creating a proper seal, a misadjusted float, or a malfunctioning fill valve. These parts are inexpensive and available at any hardware store. You’ll only need the right tools, which in this case are typically just your hands and maybe a pair of pliers.
How do I know if a plumbing problem requires calling a professional instead of a DIY fix? If you attempt these simple plumbing repairs and the toilet continues to run, it may signal a more complex issue.
- Check the flapper to see if it’s worn, warped, or not sealing properly.
- Ensure the float is set at the correct height to stop water from constantly filling the tank.
- Inspect the fill valve to make sure it shuts off completely after the tank is full.
5. Installing a New Toilet Seat Easily
Replacing a toilet seat is one of the simplest and quickest home upgrades you can make. It requires minimal effort and can instantly freshen up the look of your bathroom. This is a perfect starting point for anyone new to DIY home improvement, as it involves no direct contact with water lines or complex plumbing issues.
How difficult is it for beginners to tackle DIY plumbing fixes? This particular task is about as easy as it gets. You generally only need an adjustable wrench or a pair of pliers to complete the job. The entire process of these plumbing repairs, from removal to installation, rarely takes more than 15 minutes.
All new toilet seats come with the necessary mounting hardware, making the installation process foolproof.
- Locate the bolts at the back of the old seat and use a wrench to unscrew the nuts underneath.
- Lift off the old seat and take a moment to clean the area around the bolt holes.
- Position the new seat, insert the new bolts, and tighten the nuts by hand before giving them a final turn with the wrench.
Essential Tips for First-Time DIY Plumbers
Before starting any plumbing repairs, taking the right safety measures is non-negotiable. The most critical step is to always shut off the water supply to the fixture you are working on. If you cannot find the local shut-off valve, it is best to turn off the main water supply to your entire house to prevent any unexpected water damage.
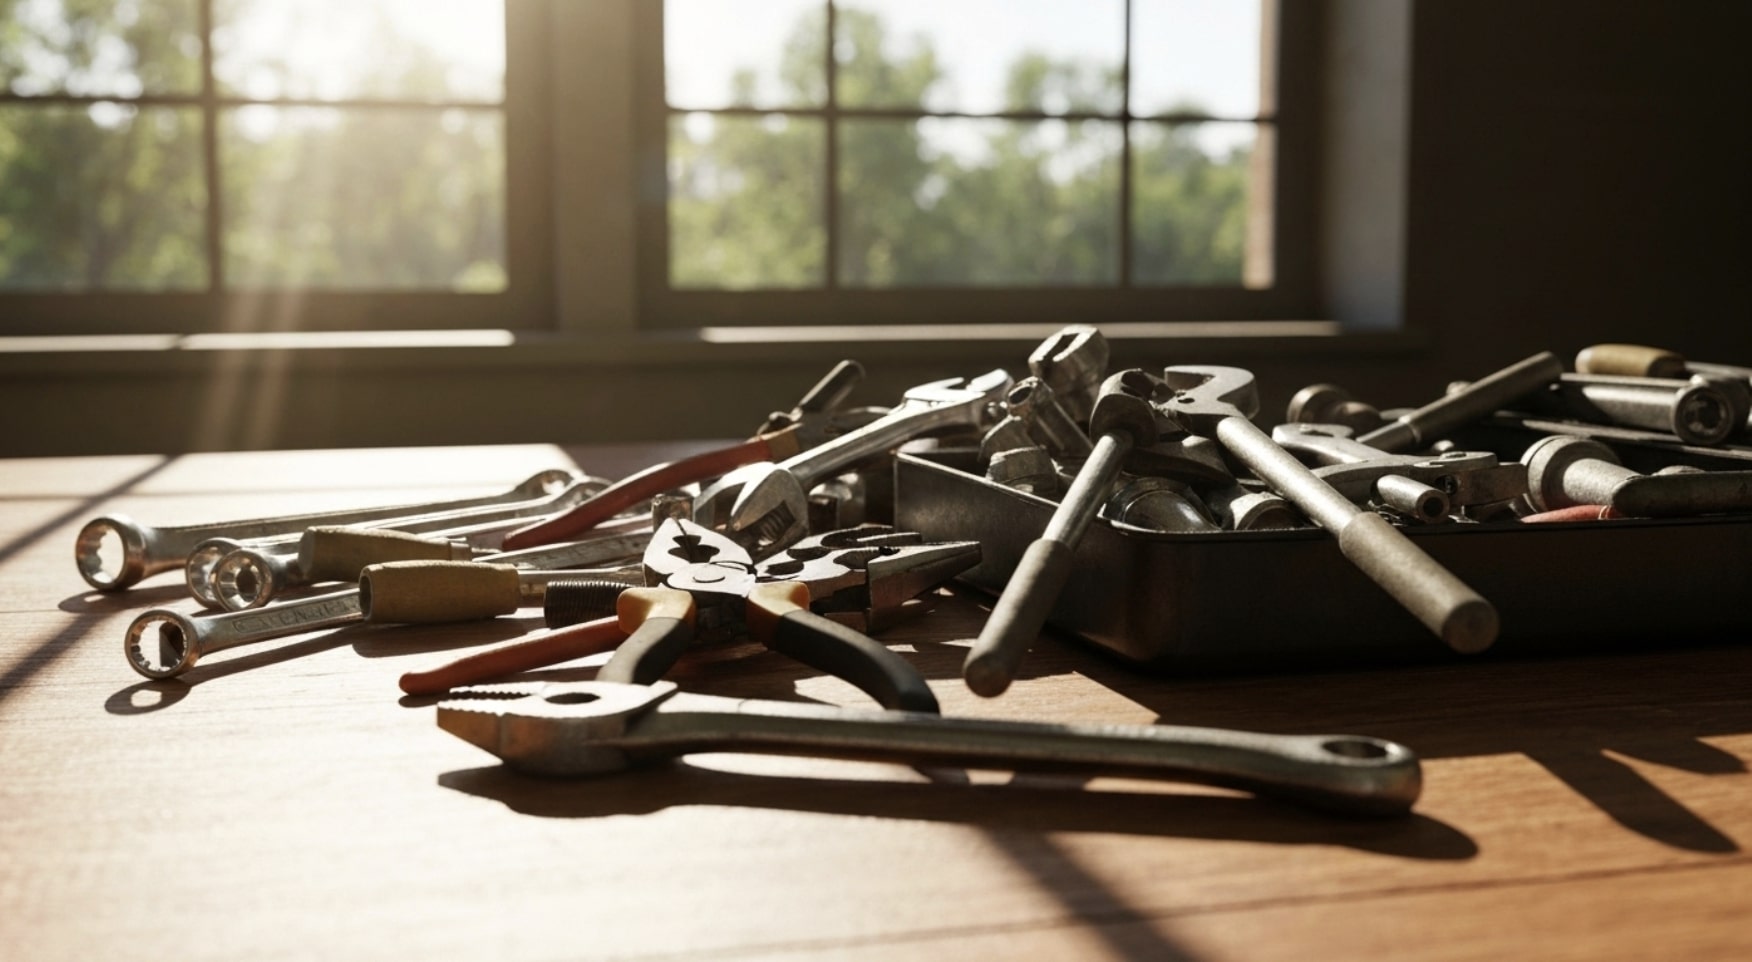
Having the right tools is also a form of safety, as it prevents you from damaging pipes or fixtures by using improper equipment. Every homeowner should have a basic plumbing kit that includes an adjustable wrench, pliers, a set of screwdrivers, a plunger, and plumber’s tape. These items will cover a wide range of simple repairs.
Here are a few key safety precautions to always keep in mind before you begin:
- Turn off the water supply.
- Wear protective gloves and eyewear.
- Have a bucket and towels ready to catch any residual water.
- Never force a part that doesn’t want to move; you could break it. If you’re struggling, it might be time to seek professional help.
Trust Target Plumbers Today – Where Reliable Solutions Flow!
While DIY plumbing repairs can be a rewarding experience, it is vital to recognize your limitations. How do I know if a plumbing problem requires calling a professional instead of a DIY fix? If a project involves major pipe repairs, working with sewer lines, or installing a water heater, it is always best to call for professional help. These tasks require specialized knowledge and equipment to be completed safely and correctly. Attempting them yourself can lead to costly water damage, serious safety hazards, or violations of local building codes.
For any plumbing issues that seem beyond a simple fix, don’t hesitate to reach out to our team. Here at Target Plumbers, we have licensed professionals ready to handle all your complex plumbing needs. We can assess the situation and provide the expert solutions required to protect your home and give you peace of mind. When in doubt, trust the experts to get the job done right.
Conclusion
In conclusion, tackling DIY plumbing fixes can be both rewarding and cost-effective when done correctly. By following the straightforward steps outlined in this guide, you can confidently address common plumbing issues without the fear of making things worse. Remember, safety should always come first, so ensure you have the right tools and precautions in place. As you embark on your plumbing adventures, don’t hesitate to reach out for professional help when needed.
If you’re unsure which fixes are safe to try, our blog on Essential Plumbing Guide for Homeowners can help guide your decision.
Frequently Asked Questions
How do I know if a plumbing problem needs a professional instead of DIY?
You should seek professional help for major plumbing issues like large pipe leaks, sewer system backups, water heater installation, or gas line repairs. If a simple DIY fix doesn’t solve the problem or you’re unsure, it’s safest to call an expert.
What are the easiest plumbing fixes for beginners?
The easiest plumbing repairs for beginners include replacing a toilet seat or showerhead, unclogging a drain with a plunger or baking soda solution, and fixing a simple leaky faucet. These common issues typically require only basic tools and knowledge.
Are there safety tips for DIY plumbing repairs?
Yes. Always turn off the water supply to the area you are working on. Use the right tools for the job to avoid damaging parts, and have a bucket ready for spills. If a plumbing problem seems too complex, call for professional help.