As cold weather approaches, preparing your home for the season is a top priority. A crucial part of this preparation is winterizing your plumbing system. This process involves a series of steps to protect your pipes from freezing temperatures, which can cause them to burst and lead to devastating water damage. Whether you live in a region with harsh winters or one with occasional cold snaps, learning how to protect your water supply is essential for every homeowner. This guide will walk you through everything you need to know on how winterize a plumbing system.
Why Winterizing Your Plumbing System Matters—Even in Mild Climates
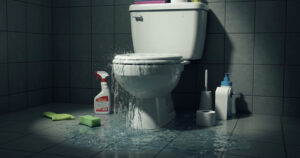
When water inside your pipes freezes, it expands with incredible force. This expansion puts immense pressure on the pipe walls, whether they are made of metal or plastic. If the pressure becomes too great, the pipe can crack or burst, leading to a major leak once the ice thaws.
The consequences of a burst pipe can be catastrophic. You could face extensive water damage to your floors, walls, furniture, and personal belongings. The repair costs can be substantial, involving not just plumbing repairs but also water removal, mold remediation, and structural restoration.
Avoiding these risks is why proper winterization is so important. A common mistake is only partially completing the process, which can leave parts of your system exposed. Ensuring every step is followed correctly is the key to preventing this kind of water damage and protecting your home from the effects of cold weather.
How Cold Snaps Catch Homeowners Off Guard
In regions where freezing temperatures are rare, homeowners often don’t have winterization on their radar. As a result, when an unusual cold snap is forecasted, it can create a last-minute panic. Many are left unprepared, not knowing what to do or where to start, leaving their plumbing system exposed.
The problem is that by the time you hear about an impending freeze, you may have very little time to act. You should start winterizing your plumbing system before cold weather arrives, ideally in the fall. This proactive approach ensures you are not caught off guard by a sudden dip in the weather forecast.
Being prepared means your plumbing is already protected when the temperature drops. This prevents the scramble to find supplies or figure out how to shut off your water in an emergency. A little planning goes a long way in safeguarding your home from the unexpected challenges of winter weather.
When and How to Prepare for Winterizing Your Plumbing
Timing is everything when it comes to winterization. Acting too early might feel unnecessary, but waiting too long can lead to disaster. The key is to prepare your plumbing system before the first freeze of the season, giving you plenty of time to complete all the necessary steps without rushing.
Beyond just timing, it is also important to know what signs to look for. Your home might give you clues that its plumbing is vulnerable to cold weather. The following sections will help you identify the ideal time to begin and recognize the warning signs that your system needs attention.
Ideal Timing for Winterization in the United States
So, when should you start winterizing your plumbing system before cold weather arrives? The best time to begin the winterization process is during the fall, well before temperatures have a chance to dip below freezing. For most of the United States, this means tackling your checklist in September or October.
Waiting for the first frost warning is a risky gamble. Instead, think of winterization as a standard part of your fall home maintenance routine. By making it a habit, you ensure your water lines are protected every year without the stress of a last-minute rush.
This proactive approach gives you ample time to inspect your plumbing system, gather the necessary materials, and perform each step carefully. If you discover any issues, such as a leaky valve or a cracked pipe, you will have enough time to get them repaired before the cold weather sets in.
Recognizing Early Warning Signs Your System Needs Attention
Before you even begin the winterization process, your home may show signs that its plumbing is not properly winterized and may be at risk. Paying attention to these clues can help you focus your efforts on the most vulnerable areas. A quick inspection can reveal potential trouble spots.
Look for these warning signs that indicate your plumbing needs immediate attention before cold weather hits:
- Visible drafts or cold air near pipes, especially where they enter the home.
- Pipes located in unheated areas like crawl spaces, attics, or garages that lack insulation.
- Condensation or moisture on pipes, which can worsen the effects of freezing.
- Cracks or small holes in your home’s foundation or siding near water lines.
- A history of slow-running faucets during previous cold snaps.
Identifying these issues early allows you to address them before they become serious problems. If you notice any of these signs, prioritize those areas during your winterization efforts to ensure your water supply remains secure throughout the winter.
Beginner’s Guide: What You Need to Winterize Your Plumbing
Having the right supplies is key to successful winterization. Most items are available at local hardware stores. A well-stocked toolkit helps you tackle each task and protect your plumbing. Essential items include:
- Foam pipe insulation or sleeves
- UL-listed heat tape or cables for vulnerable pipes
- Caulk or spray foam sealant
- Outdoor faucet covers
- Bucket for draining water
- Air compressor (optional)
Being prepared makes winterizing easier each year. For long-term convenience, install frost-proof outdoor faucets and label all shut-off valves—saving time and effort every fall.
Safety Precautions Before You Begin
Safety should always come first. Before starting any plumbing work, familiarize yourself with your home’s layout and systems. A common mistake when winterizing pipes is neglecting safety, which can lead to injury or damage. Follow these precautions:
- Locate and learn to operate the main water shut-off valve.
- Turn off electricity or gas before draining the water heater.
- Use only non-toxic RV antifreeze and read instructions carefully.
- Wear safety glasses and gloves, especially with sealants or in tight spaces.
Following these steps helps ensure a smooth winterization process. If unsure or faced with a problem, contact a professional plumber.
Step-by-Step Process to Winterize a Plumbing System
Now that you have your tools and have reviewed the safety precautions, it is time to begin the winterization process. Following a clear, step-by-step method ensures you do not miss any critical areas, providing complete protection for your entire plumbing system.
This guide breaks down the process into manageable actions, from inspecting your pipes to sealing up drafts. By tackling one step at a time, you can confidently prepare your water lines for the cold months ahead and prevent the headaches of frozen pipes.
Step 1: Inspect and Identify Vulnerable Pipes
Start by thoroughly inspecting your home to find pipes at risk of freezing—especially those exposed to cold air. Focus on unheated or poorly insulated areas like the basement, crawl space, attic, and garage. Look for pipes without insulation or wrapping, especially those along exterior walls. Document vulnerable pipes with a list or photos to guide your next step: insulating them. A careful inspection ensures no part of your plumbing is missed in your winterization efforts.
Step 2: Insulate Exposed Interior and Exterior Pipes
After identifying vulnerable pipes, insulate them to prevent freezing. Foam pipe sleeves offer an easy DIY solution—simply cut and wrap them around the pipes. For extremely cold areas, consider UL-listed heat tape for added warmth. Ensure insulation covers all sections, including bends and fittings. Proper insulation is a simple, low-cost way to avoid costly plumbing damage in winter.
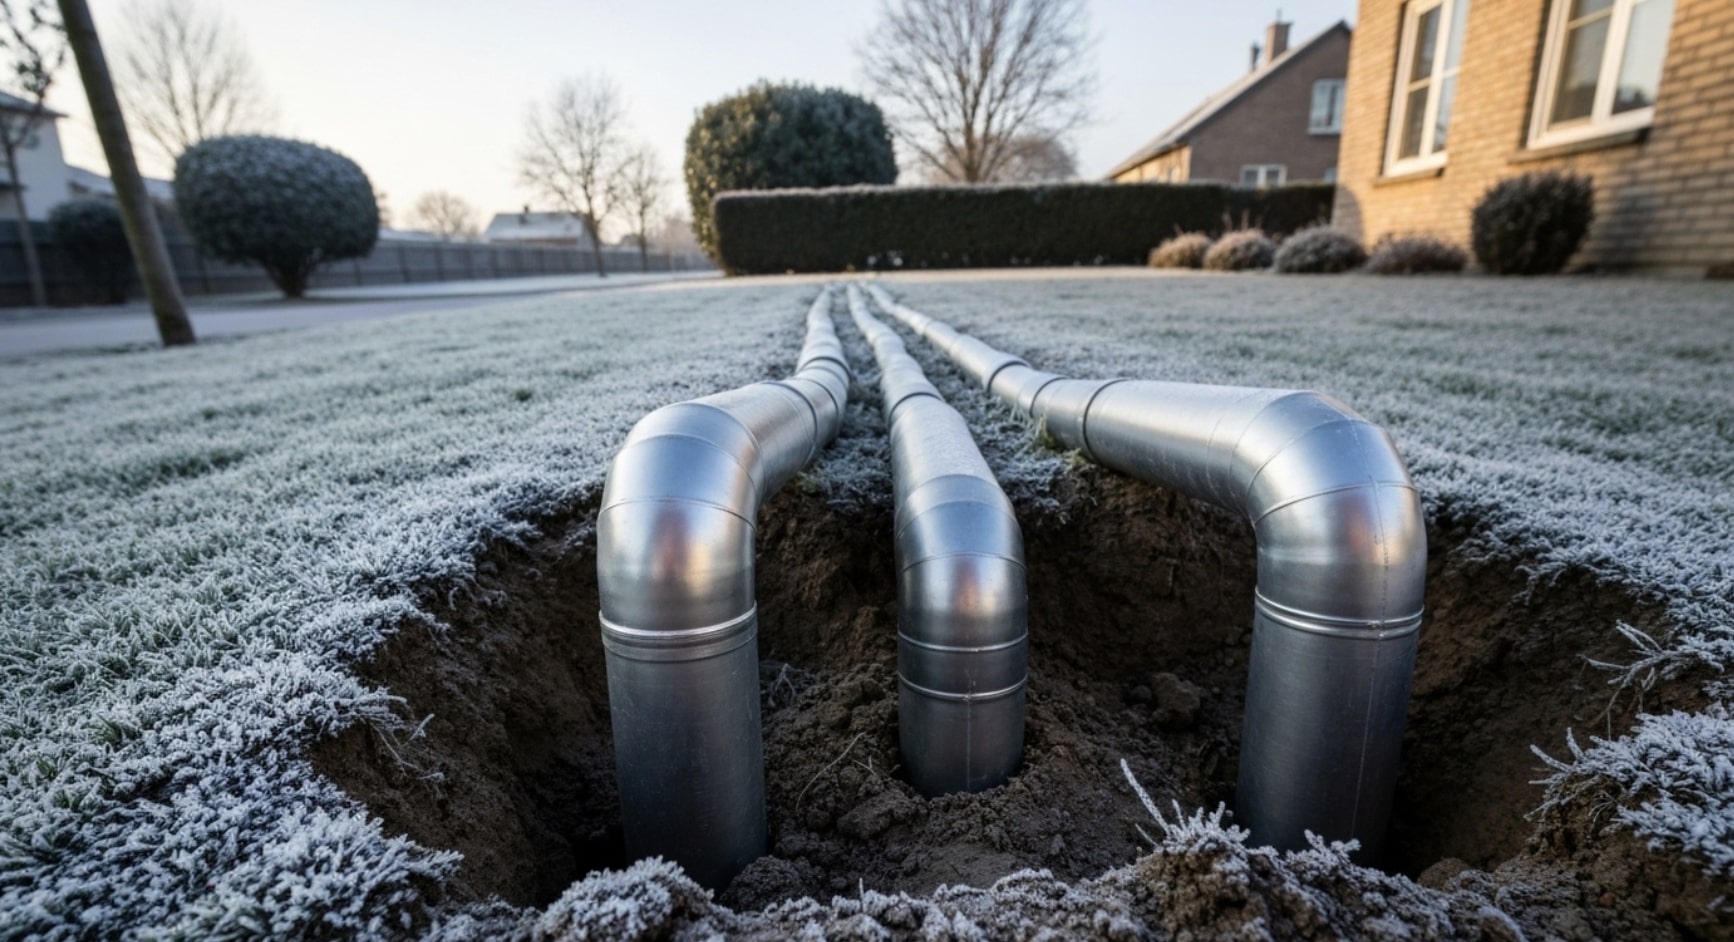
Step 3: Drain Outdoor Faucets, Hoses, and Sprinklers
Exterior plumbing is vulnerable to freezing and requires special care before winter. Before the first freeze, disconnect all garden hoses from outdoor spigots, drain them completely, and store indoors. Locate and turn off the shut-off valve for each outdoor faucet (usually inside your home), then open the spigot outside to drain any remaining water. For extra protection, cover each outdoor faucet with an insulated cover.
| Action | Purpose |
|---|---|
| Disconnect and Drain Hoses | Prevents freezing and pipe damage |
| Shut Off Exterior Water Supply | Stops water flow to prevent freezing |
| Open Outdoor Spigot | Drains remaining water |
| Install Faucet Cover | Adds insulation against cold |
Step 4: Shut Off and Drain Unused Water Lines
If your home will be vacant during winter, shut off the main water supply and drain the plumbing system to prevent frozen pipes. Close the main valve, then open all faucets—starting from the highest floor—so air can enter and help drain the lines. Flush toilets to empty tanks and bowls. Leaving faucets open ensures complete drainage and reduces the risk of damage.
Step 5: Winterize Your Water Heater Properly
Your water heater needs attention during winterization. If your home will be occupied, you usually don’t need to drain it. For short absences, set the heater to its lowest temperature or “vacation mode” to save energy and prevent freezing; this avoids relighting the pilot on return.
Drain the water heater only if the house will be vacant and unheated. To drain: turn off power and water, attach a hose to the drain valve, and direct water to a safe spot. Consult your owner’s manual or a plumber if unsure.
Step 6: Seal Gaps and Cracks to Prevent Drafts
Even well-insulated pipes are vulnerable to cold drafts entering through cracks or gaps around your foundation, siding, windows, and vents. Sealing these openings with caulk or spray foam protects your plumbing and boosts energy efficiency, lowering heating bills. Inspect areas where pipes or wires enter your home, especially around dryer vents and outdoor faucets. Making your home airtight helps prevent future issues and reduces strain on your heating system.
Common Mistakes to Avoid When Winterizing Plumbing
One of the most frequent mistakes to avoid when winterizing your plumbing pipes is forgetting about the ones you cannot easily see. It is easy to remember the pipes under your kitchen sink, but what about the ones tucked away in less-visited parts of your home?
A thorough winterization plan must include all water supply lines. Be sure to check these often-overlooked areas:
- Crawl spaces and attics
- Along the inside of exterior walls
- In unheated garages or sheds
- Behind cabinet doors
Failing to inspect and insulate these hidden pipes is a gamble. They are often the first to freeze because they are in unheated environments. Take the extra time to seek out every pipe and ensure it is protected. This comprehensive approach is the key to preventing a winter plumbing disaster.
Failing to Fully Drain Outdoor Water Lines
A common mistake is not fully draining outdoor faucets and hoses. Simply disconnecting the hose isn’t enough—if you don’t shut off the water supply and drain the line, water stays trapped inside. When it freezes, it can crack pipes or damage faucets, leading to expensive repairs. Always turn off the interior shut-off valve and open the spigot to drain any remaining water. This quick, two-step process prevents winter pipe bursts and protects your property.
Say Goodbye to Plumbing Headaches with Target Plumbers by Your Side
Winterizing your plumbing system is a critical task, but it can feel overwhelming. If you are short on time, unsure about any of the steps, or simply want the peace of mind that comes with a professional touch, we are here to help. At Target Plumbers, our experienced technicians can handle the entire winterization process for you, ensuring every detail is covered.
Don’t let the threat of a frozen pipe ruin your winter. We will inspect your system, insulate vulnerable pipes, drain outdoor lines, and make sure your home is fully prepared for whatever cold weather comes your way. Trust our team to protect your home so you can focus on staying warm and enjoying the season. Contact Target Plumbers today to schedule your plumbing winterization service.
Conclusion
So why and how to winterize a plumbing system? Winterizing your plumbing system is a crucial task that shouldn’t be overlooked, even in milder climates. By properly preparing your pipes and systems for the colder months, you can significantly reduce the risk of frozen pipes and the costly water damage that can follow. Remember to inspect vulnerable areas, insulate exposed pipes, and drain outdoor water lines to ensure everything is in order. Avoiding common pitfalls can make this process smoother and more effective.
Winterizing is just one of the many things you should consider when maintaining your plumbing. Be sure to read our full post on Plumbing Maintenance Tips for Homeowners for more helpful advice.
Frequently Asked Questions
What are the signs that my pipes aren’t properly winterized?
Signs of an improperly winterized plumbing system include visible frost on pipes, drafts near water lines, and reduced water flow from faucets during cold weather. If you notice any of these, your pipes are at risk and need immediate attention.
Is it necessary to drain my water heater every winter?
No, it is not necessary to drain your water heater every winter if you are living in the home. Simply set it to a low temperature or “vacation mode.” Draining is only recommended for homes that will be vacant and unheated for the winter.
How can I make future winterizing easier for my home’s plumbing?
To simplify future winterization, permanently insulate pipes in your attic and crawl space, install frost-proof outdoor spigots, and clearly label all your water shut-off valves. These one-time upgrades will save you time and effort every year.
What should I do if I suspect a pipe has already frozen?
If you suspect a pipe has frozen, immediately shut off the main water supply to your home. Open the faucet connected to the frozen pipe to relieve pressure, and call a professional plumber for help. Never use an open flame to thaw a pipe.