Are you thinking about giving your kitchen or bathroom a fresh new look? Upgrading your plumbing fixtures is a fantastic way to transform a space without a full renovation. Learning the installation process yourself can be a rewarding DIY skill that saves you money and gives you more control over your home’s maintenance. This guide will walk you through everything from understanding your plumbing system to installing new plumbing fixtures, empowering you to tackle your next home improvement project with confidence.
Understanding Plumbing Fixture Upgrades
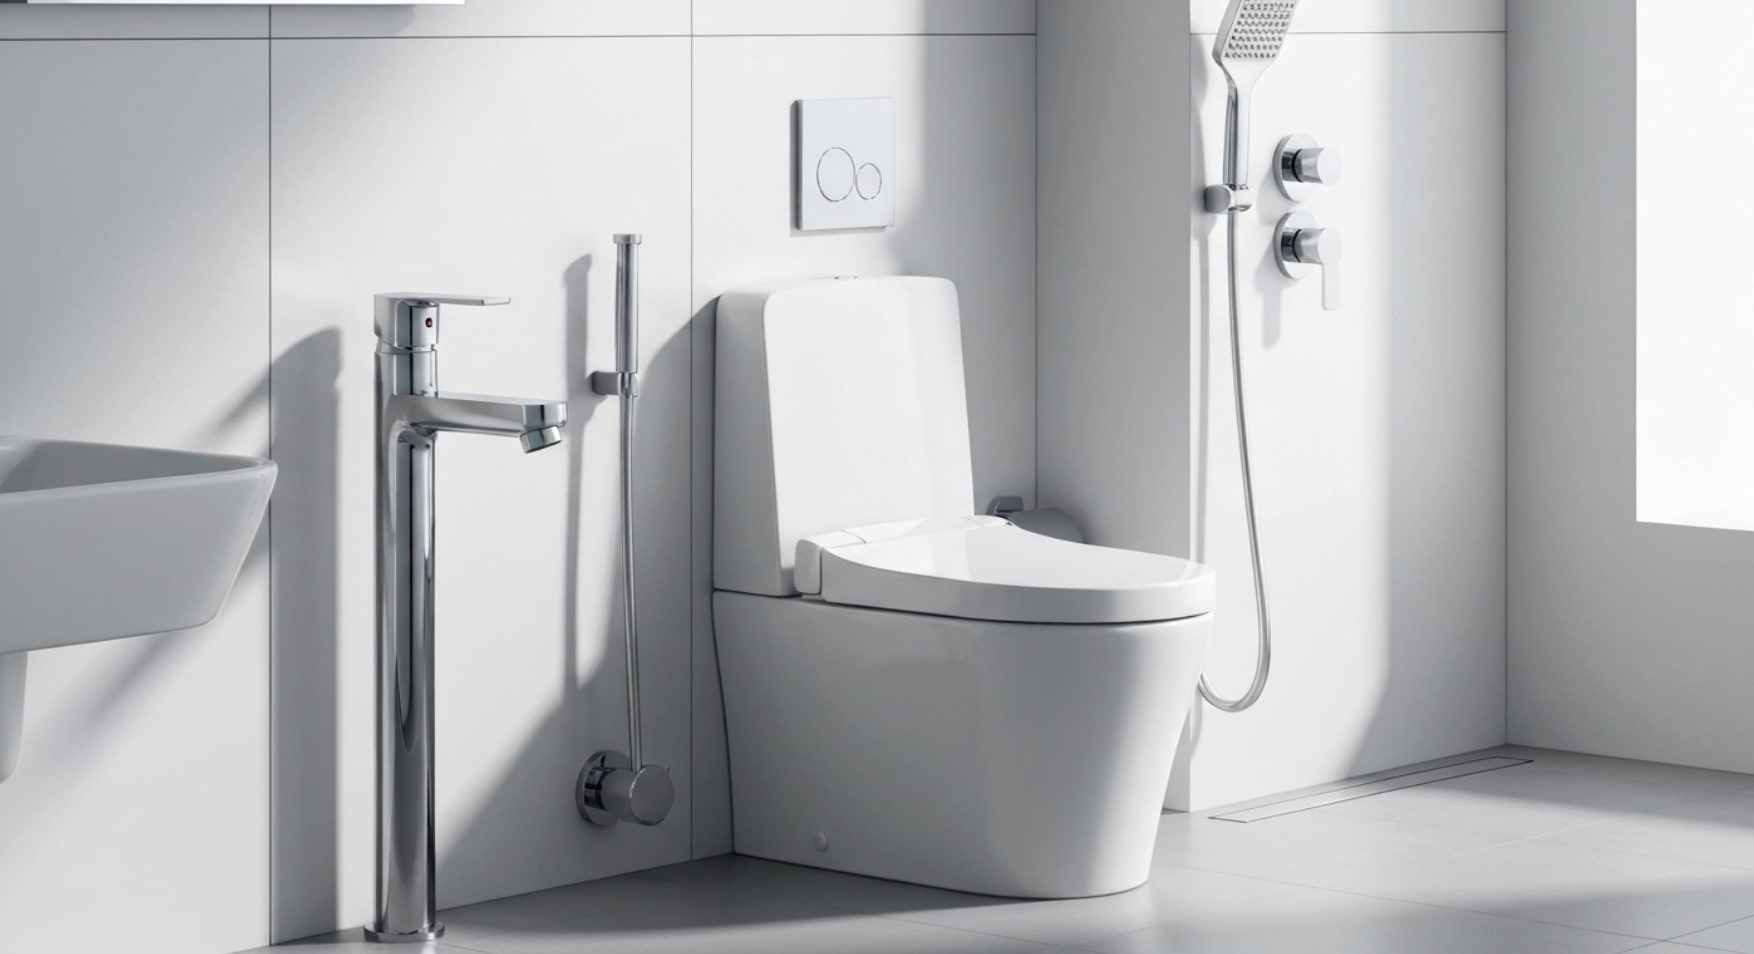
When we talk about plumbing fixtures, we’re referring to the devices that connect to your home’s plumbing system and deliver or drain water. Think of them as the user-interactive parts of your plumbing. This includes faucets, sinks, toilets, showerheads, and bathtubs. They are the components you see and use every day.
A crucial aspect of any upgrade is compatibility. So, can you install new fixtures with your existing plumbing? In many cases, yes. However, you must ensure the new fixture matches your current setup. For example, a new faucet must fit the hole configuration of your sink, and a new toilet needs to match the “rough-in” distance of your drainpipe.
Understanding these compatibility requirements is the first step in a successful installation process. Choosing a fixture that works seamlessly with your existing plumbing will save you from turning a simple project into a complicated one involving pipe modifications.
Why Consider Upgrading Your Fixtures?
So, why should you upgrade your plumbing fixtures? One of the most popular reasons is aesthetics. A new, modern faucet or a sleek toilet can instantly update the look and feel of a bathroom or kitchen. It’s a simple change that makes a big impact on your home’s style.
Beyond looks, upgrading offers significant functional benefits. Modern fixtures are often designed for water efficiency. According to the U.S. Department of Energy, installing water-saving fixtures can reduce your home’s water consumption by 30% or more. Low-flow toilets and faucets with aerators deliver excellent performance while lowering your water bills.
Finally, upgrading is a proactive way to address wear and tear. Old fixtures can develop persistent leaks or become difficult to clean. A new installation solves these issues, preventing potential water damage and making maintenance easier. Ensuring proper installation during this installation process maximizes these benefits.
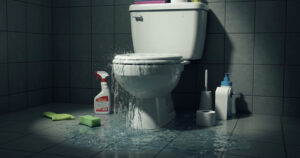
Signs It’s Time to Replace Old Plumbing Fixtures
Not sure if your fixtures need an upgrade? Your home often gives you clear signals. Ignoring these signs can lead to bigger problems with your plumbing system, so it’s best to act sooner rather than later.
Look out for these common indicators that it’s time for a replacement:
- Persistent Leaks: If a faucet continues to drip after multiple repair attempts, it’s likely time for a new one.
- Visible Damage: Cracks in porcelain, rust stains, or significant corrosion are signs that the fixture is failing.
- Frequent Clogging: An old toilet that clogs constantly may have issues beyond what a plunger can fix.
- Outdated and Inefficient: If your fixtures are old, they are likely using far more water than modern, efficient models.
Recognizing these signs is the first step. One of the common mistakes to avoid is pouring money into repairing a fixture that is clearly at the end of its life. Sometimes, replacing it is the more cost-effective and reliable solution. If you notice widespread issues, consulting a professional plumber is a wise move.
Assessing Your Plumbing Needs Before Installation
To begin, take a close look at your existing plumbing system. How can you tell if installing new plumbing fixtures will be a simple or difficult job? Start by inspecting the pipes under your sinks. Look for any signs of corrosion, rust, or leaks. Also, test the shut-off valves for each fixture to ensure they work properly. If a valve is stuck or doesn’t completely stop the water flow, it will need to be replaced before you can proceed.
Next, take some key measurements. For a toilet replacement, measure the “rough-in” distance—the space from the wall to the center of the drain. The standard is 12 inches, but older homes can vary. For a faucet, count the number of holes in your sink and measure the distance between them.
If you find that your pipes are old and corroded, the shut-off valves are frozen, or your measurements are non-standard, the job will likely be more difficult. In these situations, what seems like a simple fixture swap could become complex, and calling a professional plumber is your best bet.
Identifying Which Fixtures to Upgrade
Once you’ve assessed your plumbing system, you can decide which plumbing fixtures to upgrade. It’s often helpful to prioritize based on need. For instance, a leaky faucet or an inefficient toilet should be at the top of your list.
Consider starting with these common DIY-friendly upgrades:
- Faucets: A new kitchen or bathroom faucet can be installed in a few hours and dramatically changes the look of the space.
- Showerheads: This is one of the easiest upgrades, often requiring no tools other than a wrench and some Teflon tape.
- Toilets: While heavier and more involved, replacing a toilet is a manageable weekend project for a motivated DIYer.
When selecting new fixtures, always double-check compatibility. As asked, “Can I install new fixtures with my existing plumbing?” The answer depends on your preparation. Verifying that your new faucet fits your sink’s hole configuration or that your new toilet has the correct rough-in size is essential for a smooth installation process.
Step-by-Step Guide to Upgrading and Installing New Plumbing Fixtures
Now that you’ve done your homework, it’s time to get hands-on. This step-by-step guide will walk you through the general installation process for the most common plumbing fixtures. Remember that every project is slightly different, so always consult the manufacturer’s instructions for your specific model.
Let’s get started with the first and most important step.
Step 1: Shutting Off Water Supply and Preparing the Area
Before you touch a single pipe, the absolute first step for a safe and proper installation is to shut off the water. Forgetting this is one of the most common mistakes a DIYer can make and leads to a huge mess. You can usually find a small shut-off valve for the specific fixture under the sink or behind the toilet.
If you can’t find a local valve or it won’t work, you’ll need to turn off the main water supply to your entire house. Once the water is off, open the faucet to drain any remaining water from the lines. This simple action prevents surprise showers during the installation process.
Finally, prepare your workspace to protect it from water and debris.
- Place a bucket and some old towels under the work area to catch any drips.
- Ensure you have good lighting, like a flashlight or headlamp, to see clearly in tight spaces.
- Keep your tools and new fixture parts organized and within reach.
Step 2: Removing Old Fixtures Safely
With the water off and the area prepped, you can now safely remove the old plumbing fixtures. This is the point in the installation process where you’ll get a clear view of the existing connections, confirming whether your new fixture is compatible.
Start by disconnecting the water supply lines that run to the fixture. Use an adjustable wrench to loosen the nuts. After that, you can remove the fixture itself.
- For a faucet, use a basin wrench to loosen the mounting nuts holding it to the sink from underneath.
- For a toilet, unbolt it from the floor and gently rock it to break the wax seal.
- Lift the old fixture out and set it aside.
Once the fixture is removed, thoroughly clean the surface. Scrape away any old plumber’s putty, caulk, or wax residue. A clean, smooth surface is essential for getting a watertight seal on your new installation. If you find unexpected pipe damage at this stage, it might be time to call a professional plumber.
Step 3: Properly Roughing-In Plumbing for New Installations
How do you properly rough-in plumbing before installing new fixtures? “Roughing-in” is the phase where you install the drain and water supply lines in the walls and floor before the fixture is set. For a proper installation, getting these measurements right is critical.
These dimensions ensure your plumbing system functions correctly and complies with building codes. Here are some key measurements to follow:
- Sink Drain: The center of the sink drain pipe should be about 18 inches above the finished floor. The water lines are typically a few inches above that.
- Toilet Flange: The closet flange, which connects the toilet to the drain, should be centered 12 inches from the finished back wall.
- Shower Valve: The shower valve is usually installed at a height of 48 inches above the finished floor.
This part of the installation process also involves ensuring your drainage has proper venting. A vent pipe allows air into the system, preventing suction that could pull water from the P-traps and allow sewer gases into your home.
Step 4: Installing the New Fixture (Faucet, Toilet, Showerhead)
Now for the exciting part: installing your new plumbing fixtures! Always follow the manufacturer’s instructions, as each model can have unique requirements for proper installation.
Here are some general tips for a successful installation process:
- Toilets: Always use a new wax ring to create a seal between the toilet and the floor flange. Press the toilet down firmly and tighten the bolts evenly, but do not overtighten, as this can crack the porcelain.
- Faucets: Apply plumber’s putty or silicone caulk under the faucet base to create a watertight seal against the sink.
- Showerheads: Are there specific installation tips for shower plumbing fixtures? Yes, a great one is to wrap the threads of the shower arm with Teflon tape (clockwise, 3-4 times) before screwing on the new head. This ensures a leak-proof connection.
Take your time to ensure the fixture is straight and securely mounted before moving on to connecting the water lines.
Step 5: Connecting Water Supply Lines and Testing for Leaks
With the new fixture in place, it’s time to connect it to the plumbing system. This is a critical step in the installation process, and careful work here will prevent frustrating leaks later on.
Attach the new water supply lines to the fixture and the shut-off valves. A good rule of thumb is to hand-tighten the connections first, then use a wrench to give them a final quarter-turn. This prevents cross-threading and overtightening.
So, how do you know if your installation was successful? The answer lies in thorough testing.
- Slowly turn the water supply back on.
- Closely inspect every connection point—at the valve, at the fixture—for any drips.
- Run both hot and cold water through the fixture.
- Fill the sink or flush the toilet to test the drain connections for leaks. A dry floor and properly functioning fixture are the signs of a proper installation.
Step 6: Finishing Touches and Cleanup
You’re almost at the finish line! The final steps of the installation process ensure your new plumbing fixtures not only work perfectly but also look great. Skipping these finishing touches is a common mistake that can undermine your hard work.
For a professional-looking and proper installation, complete these tasks:
- Apply a bead of silicone caulk around the base of the toilet or sink. This prevents water from seeping underneath and provides a clean, finished edge.
- Install any decorative elements, like the caps that cover the toilet bolts.
- Wipe down the new fixture and the surrounding area to remove any fingerprints, dust, or sealant residue.
Finally, clean up your workspace. Properly dispose of the old fixture and all packaging materials. A tidy finish is the hallmark of a job well done. Now, step back and admire your brand-new, perfectly installed fixture!
Installation Tips for First-Time DIYers
If you’re wondering what common mistakes you should avoid when installing new plumbing fixtures, you’re already on the right track. Being aware of these pitfalls is half the battle in achieving a proper installation.
Many issues arise from simple, preventable errors. During your installation process, be sure to avoid these common blunders:
- Overtightening Connections: It’s tempting to crank down on nuts and fittings, but this can crack porcelain, strip threads, or damage rubber seals, causing leaks. Tighten until snug, then give a final quarter-turn with a wrench.
- Improper Sealing: Forgetting plumber’s putty, using too little sealant, or reusing an old toilet wax ring will almost guarantee a leak.
- Not Cleaning Surfaces: Any old caulk, putty, or grime left on the mounting surface can prevent the new fixture from sealing correctly.
- Forgetting Teflon Tape: On threaded connections that don’t have a rubber gasket, Teflon tape is essential for a watertight seal.
- Cross-Threading: Forcing a connection that isn’t aligned properly will damage the threads and cause a persistent leak.
When Should You Call a Professional Plumber?
While many plumbing fixtures can be a DIY project, knowing your limits is crucial. So, is it necessary to hire a professional plumber, or can you do it yourself? There’s no shame in calling for expert help; in fact, it’s the smartest move for complex situations.
A professional ensures the job is done correctly, safely, and up to code, protecting your home from potential water damage. The installation process can quickly become complicated if you encounter unexpected issues.
Consider calling a professional plumber if you run into any of these scenarios:
- The Job Requires Rerouting Pipes: Any task that involves cutting into walls to move supply lines or drains is best left to an expert.
- You Discover Hidden Damage: If you find corroded pipes, stuck valves, or signs of water damage like mold or rot, a plumber should assess the situation before you proceed.
- A Leak Persists After Installation: If you’ve double-checked your connections and a leak won’t stop, a professional can diagnose and fix the underlying problem.
Don’t Let Plumbing Issues Linger—Contact Target Plumbers Right Away!
Upgrading your plumbing fixtures is a great investment in your home’s comfort and efficiency. While this guide empowers you to handle many installations, some jobs require the skill and experience of a seasoned expert. If you’re facing a complex installation, need to modify your plumbing system, or simply want the peace of mind that comes with a guaranteed perfect job, it’s time to call for backup.
Don’t let a tricky plumbing project or a persistent leak cause you stress. Our team here at Target Plumbers of certified experts is here to help. We have the tools and knowledge to ensure your new fixtures are installed correctly and safely, protecting your home from water damage. When you need a professional plumber you can trust, contact us right away for fast, reliable service.
Conclusion
Upgrading and installing new plumbing fixtures can greatly enhance the functionality and aesthetics of your home. By understanding the signs that indicate it’s time for an upgrade, assessing your plumbing needs, and following our detailed installation guide, you can ensure a successful project that meets your expectations. Whether you choose to tackle the installation yourself or bring in a professional, taking the time to make informed decisions will lead to lasting satisfaction. Don’t let plumbing issues linger—be proactive and engage with our expert guidance by exploring more content on our blog. Your home deserves the best!
Before diving deep into this issue, you might find it helpful to read our main blog on “Discover the Top 10 Plumbing Problems Every Homeowner Should Know,” where we break down other early warning signs to watch for in your plumbing system.
Frequently Asked Questions
Can I install new fixtures with my existing plumbing?
Often, yes. However, compatibility is crucial for proper installation. You must match new plumbing fixtures to your plumbing system, such as faucet hole configurations and toilet rough-in dimensions. For major changes or if you’re unsure, consulting a professional plumber before starting the installation process is recommended.
Is it necessary to get permits for fixture installation?
It depends on your local regulations and the project’s scope. A simple, like-for-like replacement of plumbing fixtures usually doesn’t require a permit. However, if the installation process involves rerouting pipes in your plumbing system, a permit is often necessary. Always check with your local building authority first.
What is the average cost of upgrading plumbing fixtures?
The cost varies greatly. A DIY faucet swap might only be the price of the fixture itself. Hiring a professional plumber for a full bathroom upgrade with high-end plumbing fixtures can cost several thousand dollars. The final price depends on material choice, installation process complexity, and labor costs.
How do I know if my installation was successful?
A successful installation process ends with a thorough test. After installing the new plumbing fixtures, slowly turn the water on and meticulously check all connections for drips. A proper installation is completely leak-free, and the fixture functions as intended without any issues like low water pressure.